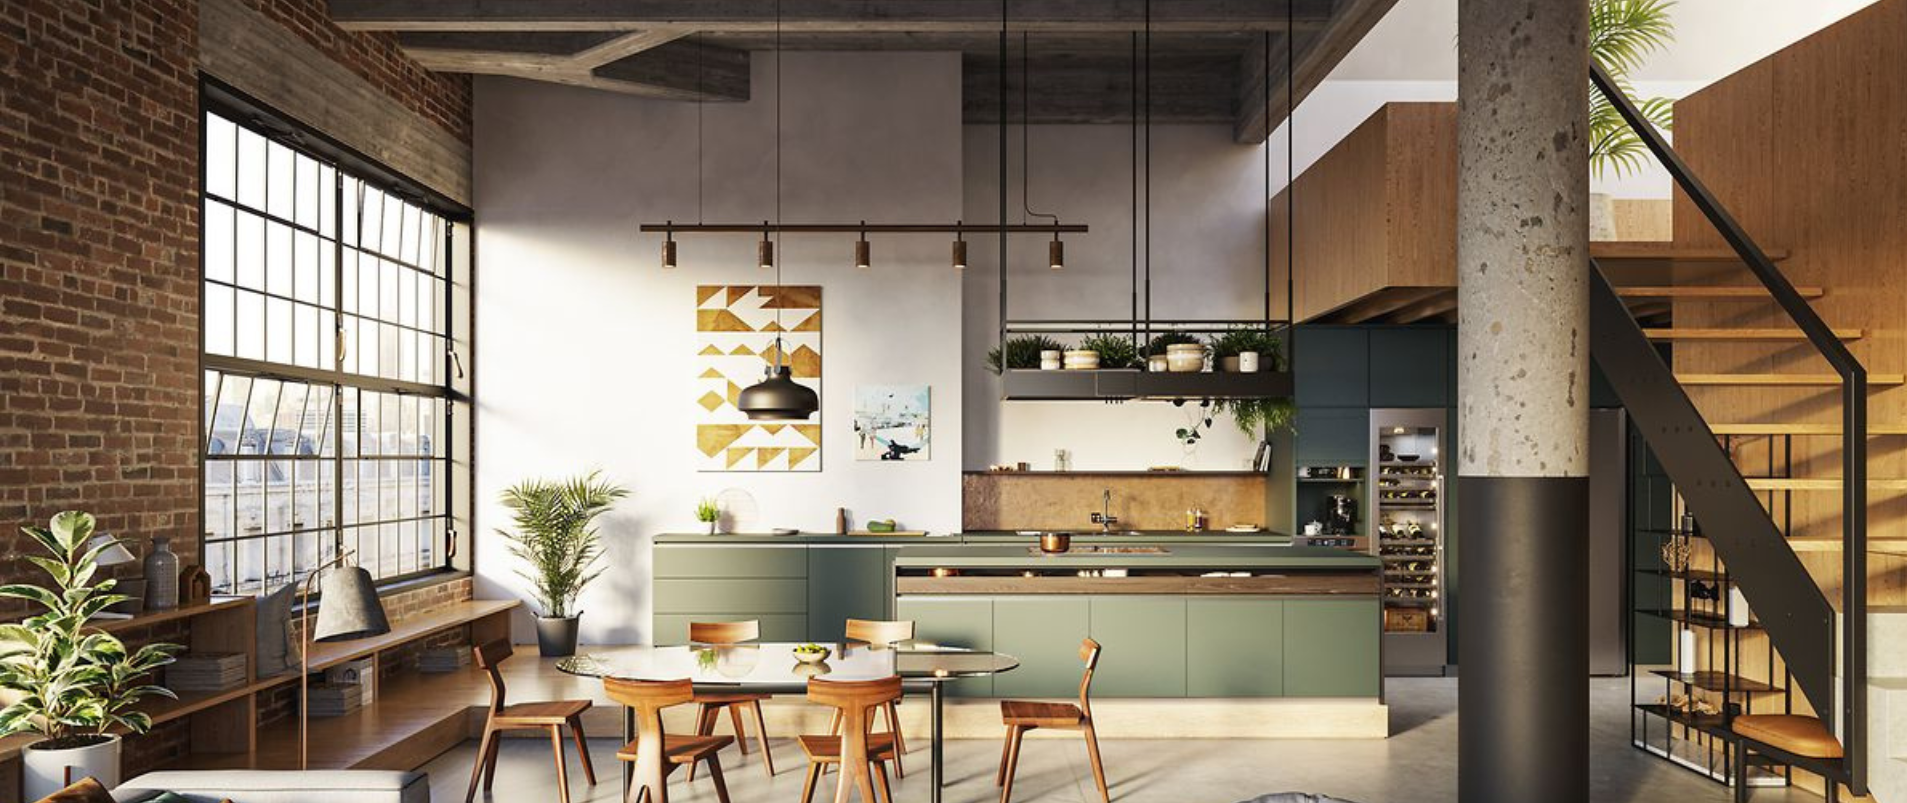
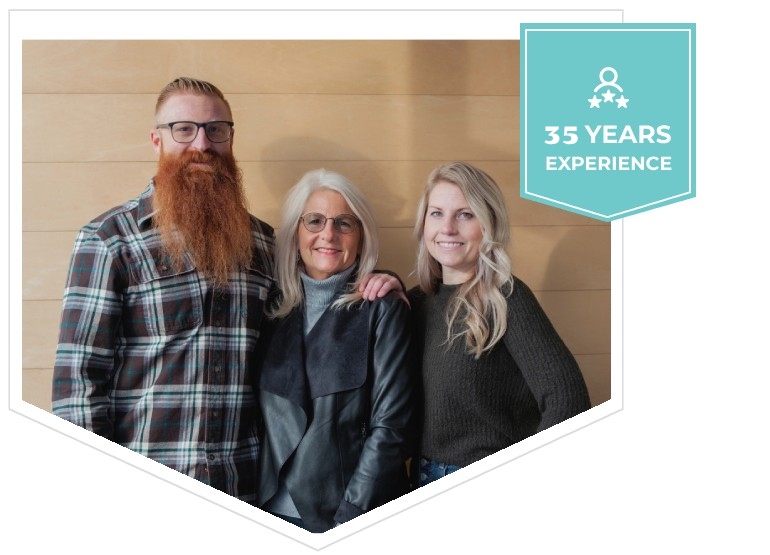
Our passion for your success and projects hasn’t changed since 1989.
We started with a mission to provide value to the woodworking industry through unparalleled service and great products. Although much has changed since 1989, our mission remains to create valuable professional relationships and exceed expectations. With diverse industry experience, our team is passionate about building professional relationships, providing value, and solving problems. Direct Supply Inc. stocks and distributes national brands like A&M Hardware, Amana, ColorRite, Designs of Distinction by Brownwood Inc., Formwood, Fulterer, Hybond Adhesives by Choice Brands, Omega National, Salice, Silbond, Sugatsune, and more.
We’re small enough to offer a personal and flexible approach when you want it and large enough to provide the value of a national distributor. We can’t wait to see what you create with our products and are grateful for the opportunity to supply them to you.
Direct Supply is proudly based in the Midwest and is a Certified Small Business and WBENC.
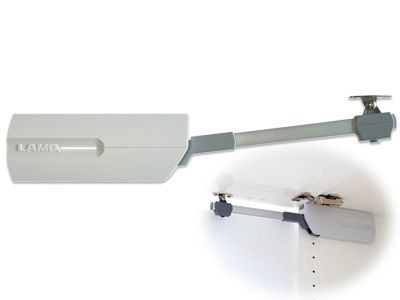
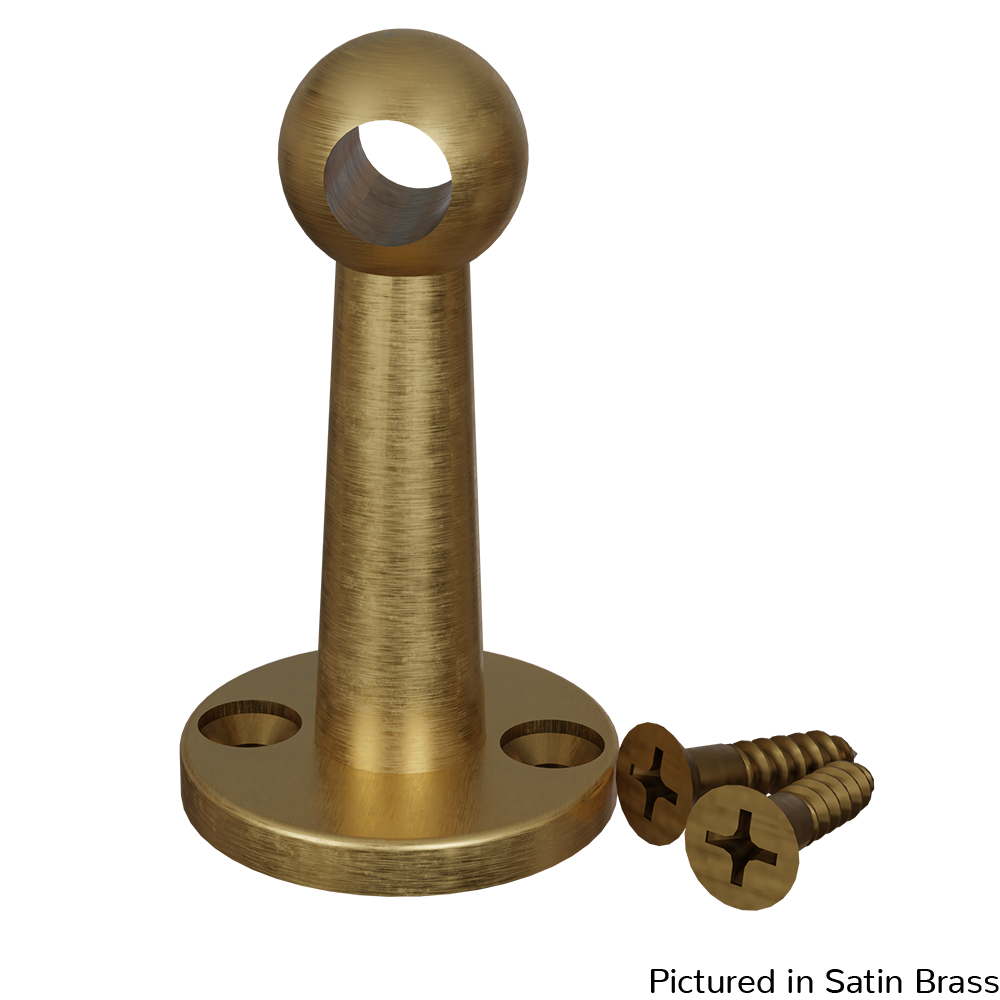
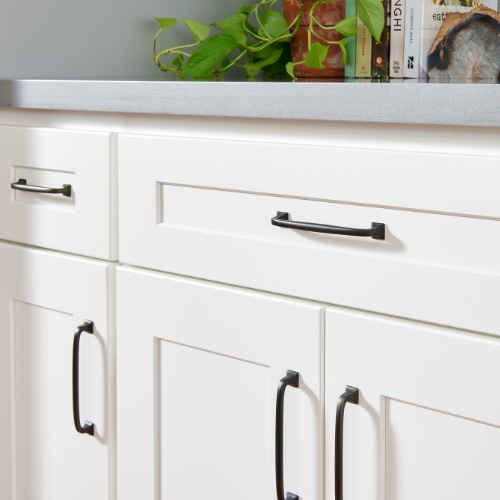
The lift-assist function helps with opening heavy or large pass-through countertops
Soft-close damper eliminates panel from slamming shut on hands and fingers
Damper function engages at low angles (does not need to be fully opened to soft-close)
Stopper holds panel at 95° to prevent over-rotation
Surface-mounting allows retrofit into existing countertop passages
What’s Included with the LADH?
Hinge
Stainless Steel Piano Hinge
What Weight is the LADH Hinge Rated For?
Weight is a tricky question because the weight this product can handle varies depending on the door size. The larger the door, the lighter the weight. There’s a helpful chart below showing the weight & size capacity depending on both weight and door height. You can also double up the LADH hinges for additional weight coverage, you’ll just have an extra piano hinge as these each come with their own stainless steel hinge.
Still have Questions About the LADH Hinge from Sugatsune?
This email address is being protected from spambots. You need JavaScript enabled to view it. We’re happy to help!
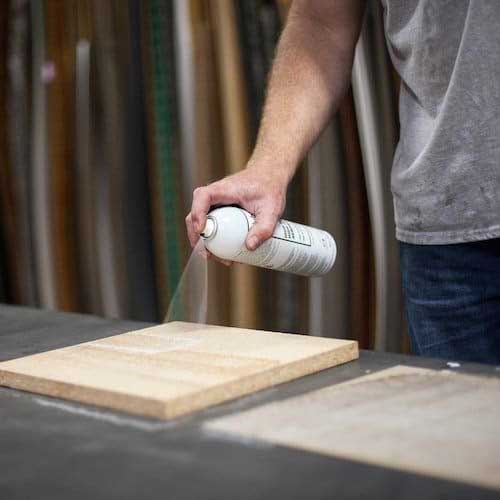
When fabricating solid surface countertops, the final finish can make or break the overall look of the project. Scratches, swirl marks, or inconsistent sheen can quickly take away from an otherwise flawless fabrication job.
The good news? Achieving a consistent finish doesn’t have to be complicated. With the right sanding sequence and tools, fabricators can produce professional results efficiently and consistently.
But is there a quick and easy way to sand solid surface? The short answer is no, like any great finish, it takes time and finesse, but we’ve found this simple sequence Uneeda has tried and tested can save time and still produce a high-quality finish.
Below we’ll walk through a simple 3-step sanding method, along with additional finishing guidance from Direct Supply’s Solid Surface Finishing Guide to help you achieve matte, satin, or gloss finishes.
The Uneeda 3-Step Process for a Matte Finish
One of the fastest ways to achieve a clean matte finish on solid surface countertops is Uneeda’s streamlined 3-step process using EKASILK PLUS sanding sponges.
This simplified approach reduces sanding time while still delivering professional results.
Final finishing pad – Produces a smooth, uniform matte or satin finish.
Removes very fine scratches – Refines the surface after the maroon pad for a cleaner appearance.
Enhances consistency – Helps eliminate swirl marks and uneven sheen.
Non-woven design – Reduces clogging and allows even abrasion across the surface.
Perfect for solid surfaces – Ideal for materials like Corian and other acrylic surfaces where a consistent finish is critical.
Understanding the Importance of Grit Progression
Solid surface finishing works best when abrasives move through a consistent grit progression. Each successive grit removes the scratch pattern left by the previous one, gradually refining the surface until the desired sheen is achieved.
Skipping grits can leave visible scratches that require additional sanding time to remove.
Quote: Protect your cabinetry – include a sink mat!
Category: Product Highlights
Content Description: Seaming Adhesives, in particular, Methyl Methacrylate Adhesives, which are commonly are used in seaming counter tops, such as solid surface, quartz, marble, granite, porcelain or sintered materials are designed to work in controlled environments. The reaction of the resin with the hardener (generally a peroxide, and in Methyl Methacrylate Adhesives), is benzoyl peroxide, creates an exotherm (that means heat generating) reaction. The effect of the exothermic reaction is that energy is given off, generally in the form of heat. So, often, if there are large masses of the adhesive, you might experience a boiling, or popping of the adhesive, as the exothermic (heat) is great enough to cause certain components, like a monomer to boil. This is often found in warmer conditions, or on warm summer days, where there may be an excess of material over seams, or expunged in a trash can to purge the adhesive. It is that heat that creates a good bond of the adhesive to the substrates. Too much heat, and one often experiences boiling, or the yellowing of the seam. It is also the heat that contributes to the strength of the adhesive. Certainly, if bubbling occurs, one might even experience a weaker joint due solely to the high temperature achieved by the adhesive at or near the joint. Therefore, we recommend in high temperatures, such as those greater than 85F, that seaming adhesive is applied not in large masses, but in smaller masses that do not generate much heat. Seaming above 85F can cause some of the less pigmented products to produce a slight yellowing effect. It is important to note that often it is the substrate temperature that is most important. Hotter substrates, such as darker colors, seamed together in the sun, may cause more of this issue, so we don’t recommend seaming about 85F. Should you find that the substrates are hotter than 85F, we recommend that you mist water on the substrate to cool the seaming area down. In general, it may take 30 to 45 minutes of spray water to reduce the temperature below 85F.
Title: Use of Seaming Adhesives in Cold or Hot Substrates
Which Edgeband Is Best for Your Project?
Which Edgeband Is Best for Your Project?
Choosing the right edgeband might seem straightforward, but the wrong selection can lead to premature wear, poor adhesion, color mismatch, or unnecessary cost. Whether you’re running high-volume cabinet production or tackling custom, one-off projects, understanding your edgeband options helps ensure durability, efficiency, and a finished look that meets expectations.
This guide breaks down the most important factors to consider when selecting edgeband. So, you can confidently choose the best solution for your application, equipment, and workflow.
Key Questions to Ask Before Choosing Edgeband
Before selecting an edgeband, evaluate how it will be used in your shop and in the final application. Questions to ask:
What material am I edging? (MDF, particleboard, plywood, HPL)
What will best match my surface? (Material or Texture)
Is this a consistent production run or a project-based job?
What equipment am I running? (standard glue, hot-air, laser)
What thickness do I typically use? (.018, 1mm, 2mm, 3mm)
Do I need precise color matching across jobs?
Is durability or cost the higher priority?
Answering these questions upfront helps narrow your options quickly and avoids costly rework.
Edgeband Materials Explained
Different materials perform better in different environments. Here’s a breakdown of the most common edgeband types and where they shine.
PVC Edgeband
PVC is one of the most widely used edgebanding materials.
Best for:
General cabinetry and casework
High-volume production
Cost-conscious applications
Benefits:
Flexible and durable
Easy to process
Available in a wide range of colors and textures
ABS Edgeband
ABS offers excellent durability with a more sustainable profile. ABS is growing in popularity in design communities where sustainability and the lifecycle of materials are important considerations.
Best for:
Residential cabinetry
Furniture and millwork
High-use environments
Benefits:
Impact-resistant
More environmentally friendly than PVC
Clean machining and finishing
PP (Polypropylene) Edgeband
PP is a lightweight, eco-focused alternative.
Best for:
Shops prioritizing sustainability
Lightweight furniture applications
Benefits:
Chlorine-free
Flexible and durable
Growing popularity in eco-conscious markets
Hot-Air & Laser Edgebanding
These methods require edgeband with a functional layer designed to activate with heat instead of glue. A Hot-Air or Laser Edgebander is required to run Hot-Air or Laser Edgeband.
Best for:
High-end cabinetry
Shops focused on seamless joints and premium finishes
Benefits:
No glue line
Improved moisture resistance
Cleaner appearance
Wood Edgeband
Match Solid Wood or Veneer Surfaces with Real Wood Edgebanding.
Best for:
Wood Doors
Architectural Panels
Cabinet Components
Considerations
Select a thickness that’s suitable for your project. .5mm, 1mm, 1.5mm or 3mm.
Thicker wood edgebanding is available for face frames and other components
HPL (High Pressure Laminate) Edgeband
HPL offers maximum durability and thickness.
Best for:
Traditional Laminate Countertops
Residential Worksurfaces
Benefits:
Extremely durable
Edges Match HPL surfaces perfectly
Choosing the Right Thickness and Width
Thickness plays a major role in both durability and appearance.
3mm – Heavy-duty commercial or institutional projects.
Rule of thumb: The higher the traffic and wear, the thicker the edgeband should be.
Common Width Options
Widths typically range from 15/16” to 1-5/16”, with wider options allowing for trimming flexibility and cleaner finishes.
7/8” is also a common width for real wood edgebanding, and some manufacturers have thicker widths of up to 2-1/8” available for cabinet face frames, etc.
Rule of Thumb: Select Edgeband slightly wider than your surface and then trim excess after applying. Check out the QuadTrimmer for Trimming Edgeband.
Tip: Use filters to help narrow down your options.
Looking for Edgeband Samples or Assistance Matching? Contact Direct Supply today to get expert guidance, samples, or help dialing in the right edgeband for your next project.
SHARE VIA
A Practical Guide for Cabinetmakers and Millwork Shops
Quote: Protect your cabinetry – include a sink mat!
Category: Product Highlights
Content Description: Seaming Adhesives, in particular, Methyl Methacrylate Adhesives, which are commonly are used in seaming counter tops, such as solid surface, quartz, marble, granite, porcelain or sintered materials are designed to work in controlled environments. The reaction of the resin with the hardener (generally a peroxide, and in Methyl Methacrylate Adhesives), is benzoyl peroxide, creates an exotherm (that means heat generating) reaction. The effect of the exothermic reaction is that energy is given off, generally in the form of heat. So, often, if there are large masses of the adhesive, you might experience a boiling, or popping of the adhesive, as the exothermic (heat) is great enough to cause certain components, like a monomer to boil. This is often found in warmer conditions, or on warm summer days, where there may be an excess of material over seams, or expunged in a trash can to purge the adhesive. It is that heat that creates a good bond of the adhesive to the substrates. Too much heat, and one often experiences boiling, or the yellowing of the seam. It is also the heat that contributes to the strength of the adhesive. Certainly, if bubbling occurs, one might even experience a weaker joint due solely to the high temperature achieved by the adhesive at or near the joint. Therefore, we recommend in high temperatures, such as those greater than 85F, that seaming adhesive is applied not in large masses, but in smaller masses that do not generate much heat. Seaming above 85F can cause some of the less pigmented products to produce a slight yellowing effect. It is important to note that often it is the substrate temperature that is most important. Hotter substrates, such as darker colors, seamed together in the sun, may cause more of this issue, so we don’t recommend seaming about 85F. Should you find that the substrates are hotter than 85F, we recommend that you mist water on the substrate to cool the seaming area down. In general, it may take 30 to 45 minutes of spray water to reduce the temperature below 85F.
Title: Use of Seaming Adhesives in Cold or Hot Substrates
Cabineo 12 Passes KCMA Testing And Then Some
Cabineo 12 Passes KCMA Testing And Then Some
It’s official: Cabineo 12 connectors have successfully passed rigorous KCMA load testing for kitchen cabinet construction. And not just passed they exceeded expectations in a big way.
This milestone marks a major moment for Lamello USA and for cabinetmakers looking for a connector solution that’s simple, strong, and now industry-certified for U.S. cabinet construction.
The Surprise No One Expected
During testing, something unexpected happened.
The test cabinet was accidentally built without a drawer rail spreader, a component that typically adds significant rigidity to cabinet construction. In most cases, leaving it out would compromise strength.
But even without it, the cabinets constructed entirely from 5/8" material and assembled using Cabineo 12 connectors still exceeded every KCMA test requirement with zero failures.
KCMA Test Results: Exceeded Across the Board
Here’s how Cabineo 12 performed under independent KCMA load testing:
600 lb static load on the wall cabinet
200 lb base cabinet front joint load
No cracks
No separation
No deformation
In short: the cabinets held strong under extreme stress without the usual reinforcement.
Why use Lamello Cabineo 12?
KCMA certification is the gold standard for kitchen cabinet construction in the U.S. Passing these tests isn’t just a checkbox; it’s proof of long-term durability, safety, and performance in real-world applications.
For Cabineo 12, this means:
✔ Verified structural strength
✔ Independent, third-party validation
✔ Confidence for builders, designers, and end users
✔ Industry acceptance for U.S. cabinet construction
This is the “green light” many shops have been waiting for an official stamp of approval that confirms Cabineo is not just convenient but also truly built to last.
Transparency matters. You can review the complete KCMA load testing results or download the official PDF report here: